Converting an old HTML website to modern WordPress
 Many websites developed ten or more years ago worked great at the time but have slowly fell out of style and usefulness as the internet has grown and evolved. These sites lack support for mobile screens, miss expected modern features, and often show stale design that conveys a sense of an abandoned endeavor like a derelict property with boarded up windows and overgrown weeds.
Fortunately, with just a little bit of time and effort, one can easily retrofit an old site to a modern user experience that tells visitors the lights are on, people are home, and the domain is open for business!
Installation
The first step in this process is to add WordPress on your hosted domain. XMission’s Plesk control panel makes this a snap with a one-click installation:
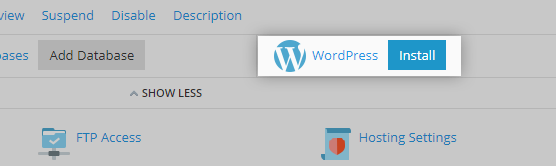
Click the Install button and sit back while the files, folders, and database are set up. It only takes a few moments until the control panel shows a WordPress login option:
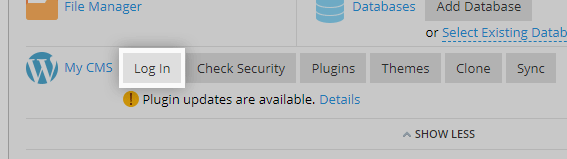
Click Login to access the WordPress back-end with the admin account Plesk created for you.
Configuration
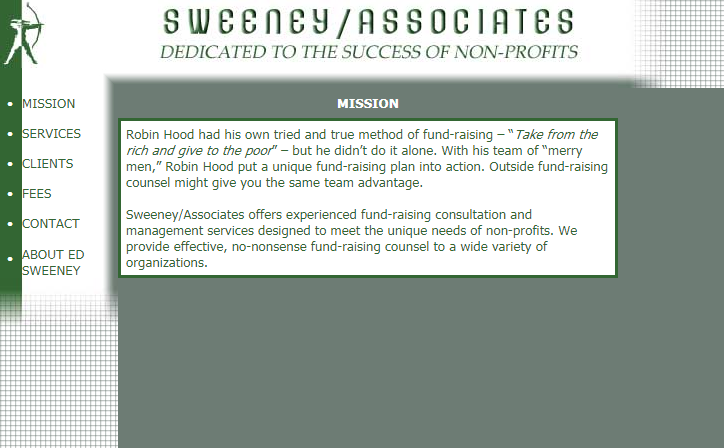
For the sake of this article, we are going to convert http://fundgroup.com/ from a static HTML site to WordPress. Fundgroup.com is a nice site that fits in an 640×480 browser window. Since 2012, 1366×768 is the most common screen resolution, giving us a lot more room for nice images, bigger text, and a better user experience.
WordPress will automatically install and activate the latest WordPress theme upon installation. For this exercise, I choose to use the Twenty Sixteen theme instead. To select a theme, click Appearance then Themes from the back-end dashboard menu:
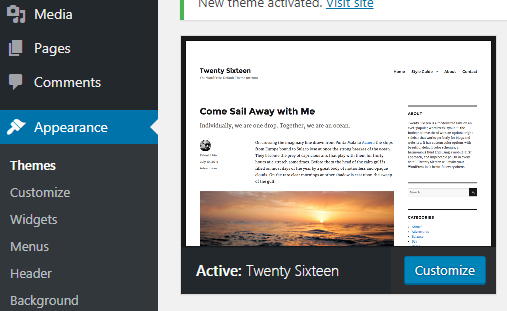
You can also browse the plethora of other available free themes from this page or at https://wordpress.org/themes/. Top-notch professional themes are available on https://market.envato.com/.
After installing and activating the desired theme, click Customize. A preview of the website is shown with a left-column menu of options. Let’s get right in it and customize the Site Identity:
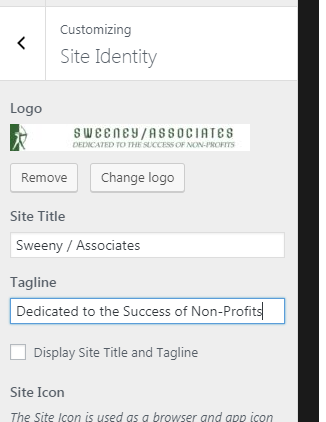
I copied the logo from the existing site simply by dragging it from the browser onto the desktop, or you can right-click and select Save image as…
Site Title and Tagline are entered, but in this case I chose to uncheck Display Site Title and Tagline as the logo already contains this text.
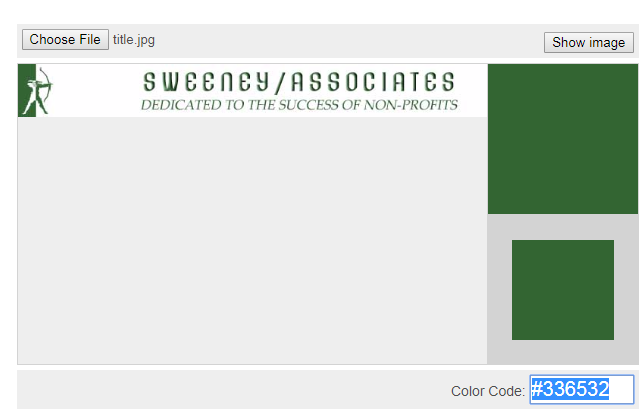
This theme allows you to set a background color. I want to use the green from the logo, so I need to figure out the HTML color code for it. This is a snap with a tool like Get Colors from Image – upload the logo image, then point at the green to see the code:
Adding Content
Now we’re ready to set the website pages and content. This is done through the Pages menu option. By default, a Sample Page is already set up:
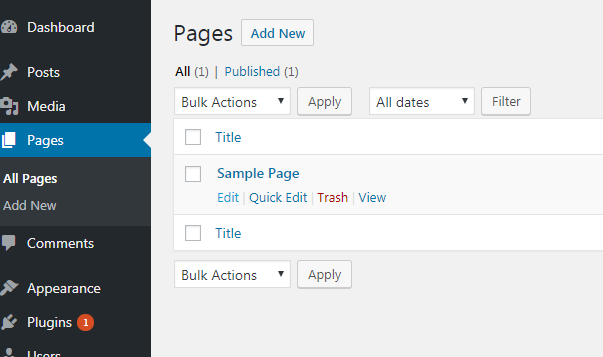
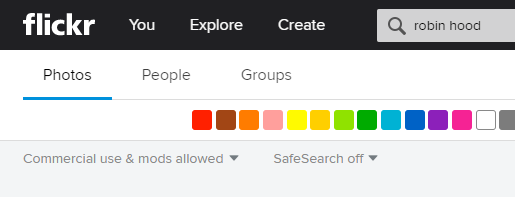
Click Edit under the page name to revise a page, or the Add New button to create a new page. I created the six pages from original site and cut and pasted the text. Let’s add some visual interest to the homepage with an image. The accompanying text mentions Robin Hood, so I jumped over to Flickr and searched Commercial use & mods allowed images and found a nice picture of a Robin Hood statue.
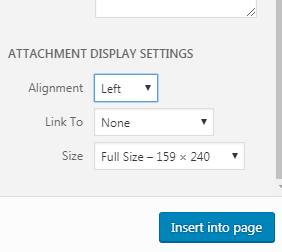 After downloading the image to my computer, I added it to the new homepage by clicking Add Media and configured it to align to the left of the text under the Attachment Display Settings.
Click Insert into Page when done to do just that.
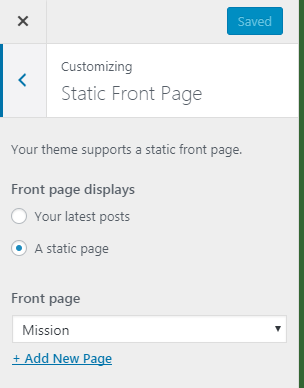 Now that the pages are set up, we need to tell WordPress what we want to display as the homepage. This is done under Settings > Reading –or- Apperance > Customize > Static Front Page (either method works fine). Select the desired Front Page from the dropdown of existing pages then Save.
Most WordPress themes have a sidebar menu, which I did not want for this project. To edit the sidebar, go to Appearance > Widgets and modify as desired. To remove the sidebar, simply delete all the widgets in the Sidebar Widget Area on this page.
Menu
The last thing our WordPress website needs is a menu to allow visitors to navigate between pages. Creating a custom menu allows you to have full control over the text and order of the links, which is done under Appearance > Menus. I clicked the checkbox next to each page I wanted to include in the menu (all of them), clicked Add to Menu, and then dragged Menu Structure items to the desired order. The last important setting is Display location which is Primary Menu:

Finished Product
We now have a new, modern, responsive website! Setting up a WordPress site may be daunting at first, but with a step-by-step guide like this you can do it yourself with a little time and only minimal computer skills.
 View full site at https://fundgroup.cogfish.com/
Gag Me with an Order Best Practices for Zimbra Email Security
Comments are currently closed.